I was inspired by BowTiedChukar’s guide to setting up BTCPay Server using LunaNode, so I spent some time reading the BTCPay docs to get more familiar.
The 3rd party route through LunaNode is an excellent one, since you are only outsourcing the client-facing invoice aspect. They never take possession of your bitcoin, so I consider it a safe choice.
However I’m a maniac purist, and I wanted to host it myself. This route is somewhat more complicated, but made considerably easier by the excellent BTCPay Docker packages.
System Planning
With any pre-rolled setup, assumptions that the maintainer has made will affect your overall system architecture.
The first consideration is disk space. BTCPay requires a locally-hosted bitcoin node to safely broadcast and receive transactions and confirmations. Bitcoin nodes are not particularly CPU-intensive, but they require a lot of hard drive space. The absolute minimum for BTC + Lightning Node operation is 25 GB for block data. Linode makes this very easy, but the minimum cost for a 50 GB node is $10/mo, slightly more expensive than LunaNode @ $8/mo.
The second consideration concerns open ports and reverse proxies. BTCPay’s Docker package, by default, will set up a standalone BTCPay instance with an nginx reverse proxy in front. It also requires access to ports 80 and 443. This immediately created a conflict with existing configuration (Traefik listens on ports 80 & 443, and will act as the reverse proxy).
There are some options to override the ports, but I ultimately decided that jamming everything together on the same VPS would be too complex.
Hosted Locally, Served Remotely
Then I thought about simply serving BTCPay from a server at my house (basically free), but I started getting anxious thinking about people doing IP lookups and discovering my whereabouts. My ISP provides a static IP, so it’s pretty easy to discover my general location with a traceroute.
But then I thought a bit more and realized that I could easily establish a permanent VPN connection between my Internet-facing VPS and my home server.
Another advantage of this approach is that is requires no port forwarding at the home side, which reduces my attack surface. Also, since there’s no permanent firewall opening requirement, it will work for people with more restrictive ISPs that might block ports 80 and 443.
We learned all about VPNs a few posts back, and those skills make an appearance here. Instead of using Wireguard directly, I’ve opted to use Tailscale. The advantage of Tailscale is that it uses Wireguard on the backend, and by default will set up a routed internal network without doing gateway redirection. This means that I can connect my Linode VPS and my BTCPay VM (fully isolated) without having to connect the tunnel manually. Tailscale also assigns a permanent internal IP to these machines, so I can write my forwarding rules without worrying about them changing.
Local Setup
I’ve created a dedicated virtual machine on my Synology NAS running Debian Bullseye. The Synology is quite underpowered, but I’m comfortable giving it this one job for now.
I’ve assigned 2 vCPUs, 2 GB RAM, and 128 GB storage to the VM.
Once inside my VM, I run the following commands (slightly modified from the official instructions):
(as root)

sudo su -
mkdir BTCPayServer
cd BTCPayServer

git clone https://github.com/btcpayserver/btcpayserver-docker
cd btcpayserver-docker

export BTCPAY_HOST="btcpay.bowtieddevil.com"
export NBITCOIN_NETWORK="mainnet"
export BTCPAYGEN_CRYPTO1="BTC"
export BTCPAYGEN_ADDITIONAL_FRAGMENTS="opt-save-storage-xs"
export BTCPAYGEN_LIGHTNING="clightning"
export BTCPAY_PROTOCOL="http"
export BTCPAYGEN_REVERSEPROXY="none"
export BTCPAY_ENABLE_SSH=true

. ./btcpay-setup.sh -i
This will spin up the BTCPay stack and get everything initialized.
The relevant options affecting the reverse proxy are BTCPAYGEN_REVERSEPROXY="none" and BTCPAY_PROTOCOL="http".
If you want to use BTCPay on a standalone server, omit the BTCPAY_PROTOCOL variable, and set BTCPAYGEN_REVERSEPROXY="nginx".
I have also elected to enable Lightning Network transactions, since small on-chain BTC transactions are fee-prohibitive.
It takes about 5 minutes on first run for everything to come up, but should be accessible shortly on port 80. You can verify this by running links http://localhost on the CLI.
Proper BTCPay operation depends on a fully synchronized bitcoin node, so you have two choices:
- Wait until it syncs from scratch
- Download and use a blockchain snapshot (also called FastSync
Synchronizing from scratch is the absolute safest choice, but it will take a long time to build and sync since your node has to verify all blocks from the beginning. The full blockchain is roughly 360 GB currently, and it’s growing every 10 minutes.
FastSync is a security risk if you intend to use the bitcoin node for forensic reasons. For accepting small payments I consider the speed gain worthwhile, but recommend the full sync if you can spare the time.
I chose to use FastSync, which can be performed by first stopping the BTCPay stack with btcpay-down.sh and running the load-utxo-set.sh script in the contrib/FastSync directory. Follow the instructions at the end to remove the bitcoin wallet volume, then run the installer again with . ./btcpay-setup.sh -i.
Eventually your bitcoin node will sync up and you’ll be able to work with BTCPay to create a store and a wallet, or connect it with some other eCommerce apps.
Tailscale VPN Setup
I followed the Debian Bullseye Instructions to install Tailscale in my BTCPay VM. After starting it and logging in using my GitHub credentials, I can see my Tailscale-only IP using ip addr show tailscale0.
I’ve adapted the official instructions slightly. Instead of using tailscale up, I use tailscale up --exit-node-allow-lan-access --exit-node=[remote IP], where [remote IP] is the tailscale IP address of my VPS.
These two options will tunnel all external traffic to the exit node, while preserving the ability to access the internal LAN.
Then, inside the Traefik docker-compose.yml, I added the following line to the commands block:
- --providers.file.filename=/rules.yml
And the following to the volumes block:
- ./rules.yml:/rules.yml
And I populate rules.yml with the following:
http:
  routers:
    btcpay:
      entrypoints:
        - "websecure"
      rule: "Host(`btcpay.bowtieddevil.com`)"
      service: btcpay

  services:
    btcpay:
      loadBalancer:
        servers:
          - url: "http://[redacted tailscale IP]/"
Then it’s a simple matter of re-creating the Traefik container with docker-compose up -d and we’re off to the races!
Now my VPS redirects all traffic on btcpay.bowtieddevil.com to my VM over Tailscale.
Testing and Setup
Head over to the URL and see if it comes up.
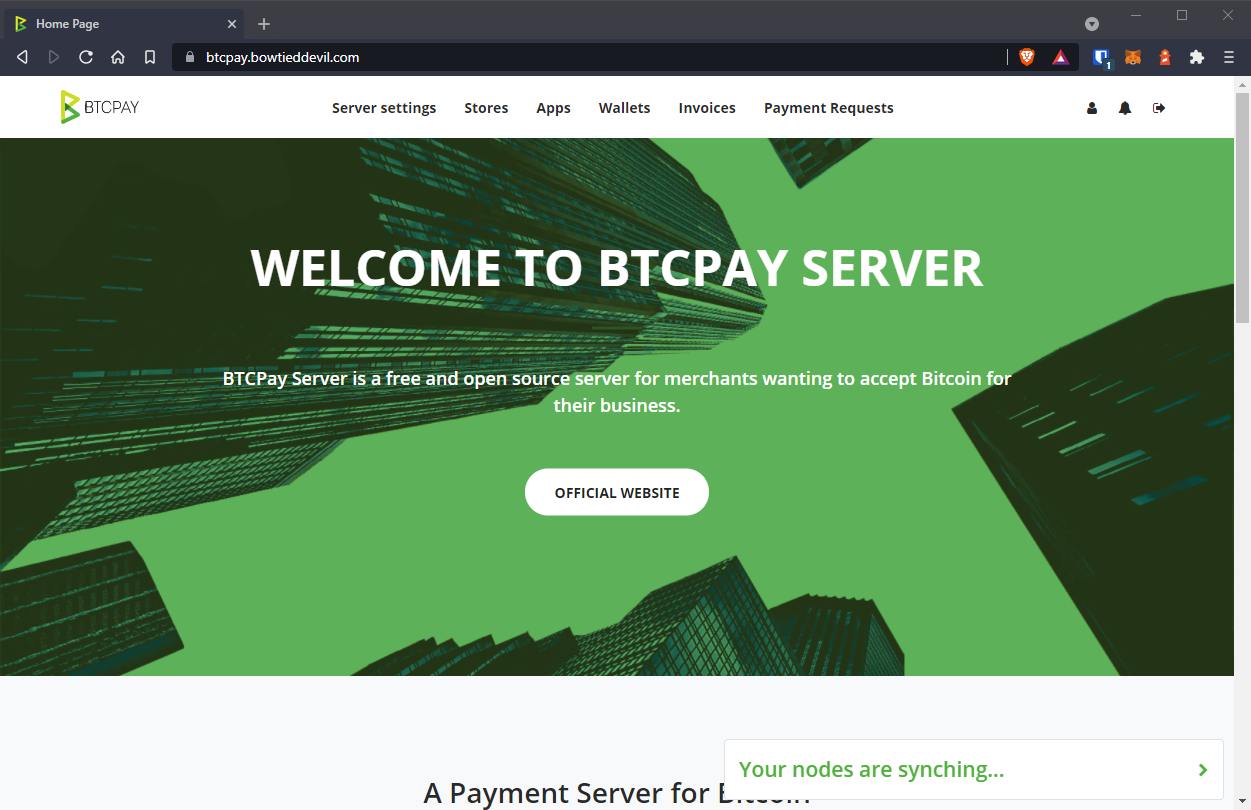
Success!
Now I can accept payments and send invoices using BTCPay and the Lightning Network.
I am also exploring the Monero, LTC, and ETH features of BTCPay and will write a follow-up once I have those sorted out.