In the last post, we spent a long time talking about containers and celebrated with a very simple nginx web server setup. In this one, we will delve into some intermediate topics and learn how to:
- Define containers with a text configuration file, instead of individually on the command line
- Change container behavior with environmental variables
- Define dedicated volumes for persistent storage
- Connect multiple containers to build a web application
The Web Stack
In the early days of web hosting, it was common to see the LAMP acronym, which represents Linux, Apache, MySQL, and PHP. These technologies enabled much of the Internet as we know it. They are still in heavy use today, though some newer technologies have taken market share away from each component. I’m not here to evangelize any part of the stack (except perhaps Linux).
Rather than a dry lecture on the above topics, we will learn them all by setting up perhaps the most well-known web application of all time: WordPress.
WordPress
WordPress is the most popular blogging software of all time. If people don’t love it, they certainly use it. Most of you are interested in web hosting, and most of you will end up installing a WordPress blog.
So let’s build a WordPress stack using Docker, and learn a few things along the way.
Docker-Compose
In the previous post, I had you install docker-compose, which is a set of scripts to simplify creation, updating, starting and stopping of containers.
Check if you have it by running:
devil@ubuntuVM:~$ sudo docker-compose version
docker-compose version 1.25.0, build unknown
docker-py version: 4.1.0
CPython version: 3.8.10
OpenSSL version: OpenSSL 1.1.1f  31 Mar 2020
If you see that, you’re all set.
I suggest creating a dedicated sub-directory for your docker files. If you prefer working as a normal user, create the directory in ~/docker. Remember that ~ is shorthand for your user’s home directory (/home/[username]).
Create the new directory and move into it:
devil@ubuntuVM:~$ mkdir docker
devil@ubuntuVM:~$ cd docker
devil@ubuntuVM:~/docker$
Now let’s take a break and navigate to the official WordPress repository on Docker Hub. You’ll see a lot of unfamiliar stuff there. The important items are the list of supported tags, and further down an example stack.yml file.
version: '3.1'

services:

  wordpress:
    image: wordpress
    restart: always
    ports:
      - 8080:80
    environment:
      WORDPRESS_DB_HOST: db
      WORDPRESS_DB_USER: exampleuser
      WORDPRESS_DB_PASSWORD: examplepass
      WORDPRESS_DB_NAME: exampledb
    volumes:
      - wordpress:/var/www/html

  db:
    image: mysql:5.7
    restart: always
    environment:
      MYSQL_DATABASE: exampledb
      MYSQL_USER: exampleuser
      MYSQL_PASSWORD: examplepass
      MYSQL_RANDOM_ROOT_PASSWORD: '1'
    volumes:
      - db:/var/lib/mysql

volumes:
  wordpress:
  db:
For now, let’s take the easy way out and simply copy the stack.yml from their repository. Copy the text above, open nano, then right-click to paste it. Use CTRL + x to save to stack.yml, then you’ll be back on the CLI.
devil@ubuntuVM:~/docker$ sudo docker-compose -f stack.yml up
[output clipped]
Then you’ll see a lot of stuff happen in the console. Watch it for a while and you’ll eventually see a line similar to db_1 | Version: '5.7.34' socket: '/var/run/mysqld/mysqld.sock' port: 3306 MySQL Community Server (GPL)
Then open up a browser and visit http://localhost:8080.
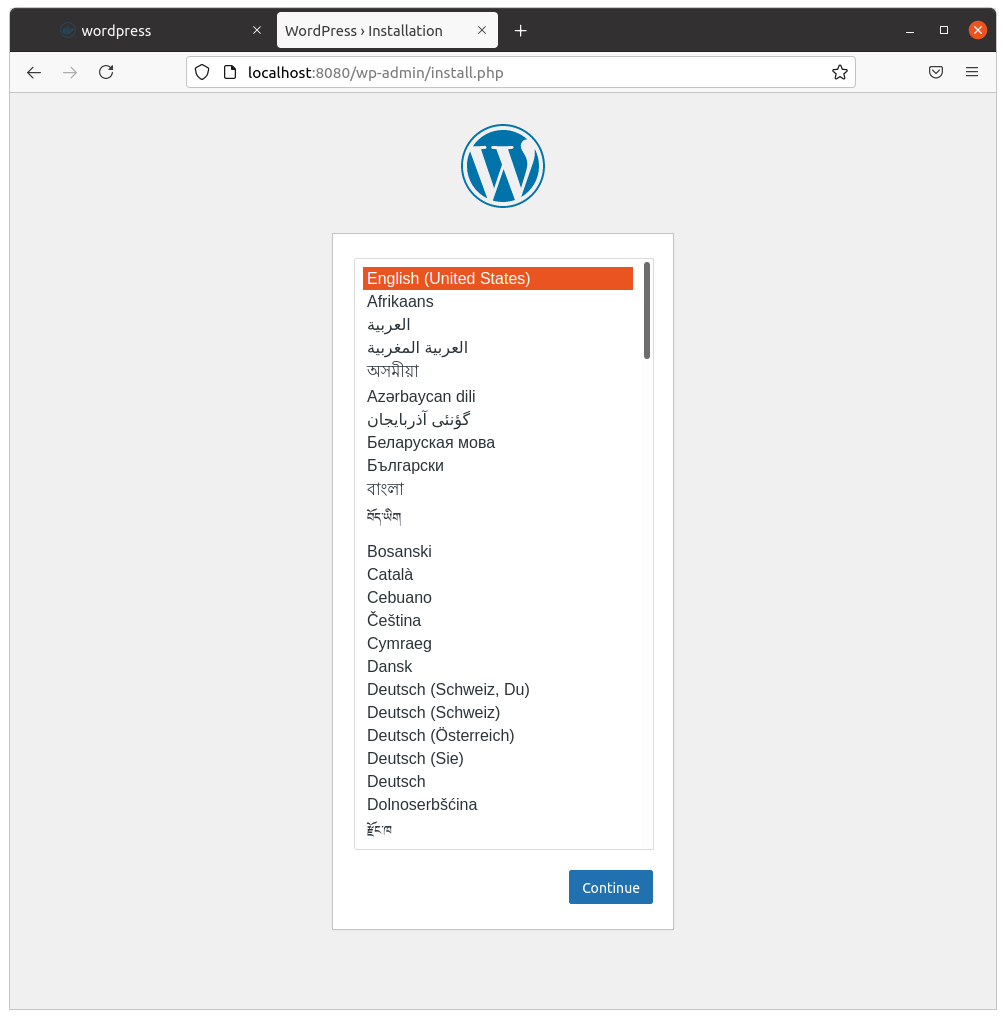
Wow, WordPress is ready to go!
Shit, that was easy. What have I been paying these hosting companies for, exactly?
Feel free to play around with the WordPress installer, and even build a little test site and explore the interface. When you’re done, kill the stack in the CLI with CTRL + c and it will clean up behind itself.
What Did We Learn?
Now let’s rewind a bit. Review the first paragraph where I said I would teach you how to do four things. I will review one by one.
Define containers with a text configuration file, instead of individually on the command line
That stack.yml file is the text configuration file I mentioned. The nice thing about defining containers with a file instead of one-by-one on the CLI (as shown in last post) is that they are guaranteed to start int he same way each time, without you having to remember the options.
These configuration files are portable, and they define everything you need about the container stack so they are inherently portable. Copy them to a new machine, start them up, and bang! WordPress on a new host.
The format for a docker-compose configuration file is pretty picky, since it’s defined in a markup language called YAML. You can read about YAML here, if you’re interested. White space and indentation are important in YAML, so be sure to use spaces and not tabs. If you copy-pasted my code above, you’ll be OK but be sure to use white space properly in the future.
A particular container is labeled under the services: section. Our WordPress stack has two parts, the wordpress container and the db container. Each have their own section with sub-options that define the following characteristics:
imagetells Docker which image to create the container withrestartpolicy, which the Docker service will follow if the container fails or diesportsthat are passed from the host (left of the colon) to the container (right of the colon)environmentvariables, which are read at start-up to change the container’s behaviorvolumeswhich represent storage on the host (left of the colon) and inside the container (right of the colon)
Change container behavior with environmental variables
The environment section of the wordpress container defines several variables:
WORDPRESS_DB_HOSTwhich tells WordPress the hostname for the databaseWORDPRESS_DB_USERwhich tells WordPress the username that has access to the databaseWORDPRESS_DB_PASSWORDwhich tells WordPress the password for that userWORDPRESS_DB_NAMEwhich tells WordPress the name of the database assigned to it
Similarly, the environment section of the db container defines several variables intended to create a mySQL database inside the container with a particular name, and a user/password to interact with it.
You can see how these two containers will connect together in this way. MySQL is created and waits for a connection, which WordPress soon makes using that pre-defined information.
Define dedicated volumes for persistent storage
We remember that containers are designed to be created, destroyed, and thrown away at a moment’s notice. However, we want some of that data to persist between containers. For all data like this, we use a volume and attach it to our containers. In this example, we define two volumes named db and wordpress.
You can correctly guess that the db volume contains the database files for the db container, and the wordpress volume contains the configuration files for the wordpress container.
The names aren’t important, but you should use something intuitive as you begin creating your own stacks.
Connect multiple containers to build a web application
This web application stack is made possible by the interaction of WordPress (a PHP application) and MySQL (a database). The two containers don’t know about each other and each have a single task. By themselves they do nothing, but when WordPress reaches out to the MySQL server using the db hostname… Magic!