While you may not have heard the term Marketing Automation before, you’ve certainly been exposed to it. This kind of software is designed to automate many of the tedious aspects of acquiring, communicating, and tracking subscribers and customers.
Popular commercial Marketing Automation (abbreviated MA hereafter) platforms include Marketo, Eloqua, Pardot, Mailchimp, and Hubspot.
I don’t have much experience with the commercial offerings for two simple reasons:
- They are expensive
- A fantastic open source alternative exists
Enter Mautic. If you want to see how Mautic describe themselves, read HERE.
The purpose of this post is to demonstrate how to install Mautic, connect it to your transactional email service, manage users and groups, and get started with an email campaign with a sample newsletter.
There are many useful guides for Mautic online, and this is not intended to be a complete resource on using it. I will do follow-up posts on Mautic as I develop my own MA skills, so stay tuned!
Installing Mautic
Mautic provides an excellent Docker image, which I will use here. Remember, this is configured to live behind a Traefik reverse proxy on the same server as a running website. It can be adapted without much trouble, so if you need a specific adjustment please DM me on Twitter or email me at [email protected].
As a reminder, I sort all of my Docker files inside a specific directory called /docker, with sub-directories for each application.
Here is the docker-compose.yml file:
version: "2"

services:
  mautic:
    restart: unless-stopped
    image: mautic/mautic:v3
    depends_on:
      - db
    environment:
      - MAUTIC_DB_HOST=db
      - MAUTIC_DB_USER=mauticUser
      - MAUTIC_DB_PASSWORD=mauticPass
      - MAUTIC_DB_NAME=mauticDB
    labels:
      - traefik.enable=true
      - traefik.http.routers.mautic.entrypoints=websecure
      - traefik.http.routers.mautic.rule=Host(`newsletter.bowtieddevil.com`)
      - traefik.http.services.mautic.loadbalancer.server.port=80
    volumes:
      - web:/var/www/html

  db:
    restart: unless-stopped
    image: percona/percona-server:5.7
    command: --character-set-server=utf8mb4 --collation-server=utf8mb4_general_ci
    environment:
      - MYSQL_RANDOM_ROOT_PASSWORD=true
      - MYSQL_DATABASE=mauticDB
      - MYSQL_USER=mauticUser
      - MYSQL_PASSWORD=mauticPass
    volumes:
      - db:/var/lib/mysql

volumes:
  db:
  web:

networks:
  default:
    name: mautic
I intend to use Mautic to manage an email newsletter, so I’ve set it up using newsletter.bowtieddevil.com. Adjust as needed for your own use configuration and naming convention.
Bring the container up with docker-compose up -d and then visit the above URL to complete the installer. Remember that the database name, user, and password are defined above, so enter those into the appropriate installer fields.
For SMTP information, refer back to my post on Sending Email to obtain sending credentials through Mailgun.
For reference, mine look like this:
Server: smtp.mailgun.org
Port: 587
Security: TLS
Authentication: Login
Username - [email protected]
Password - [redacted]
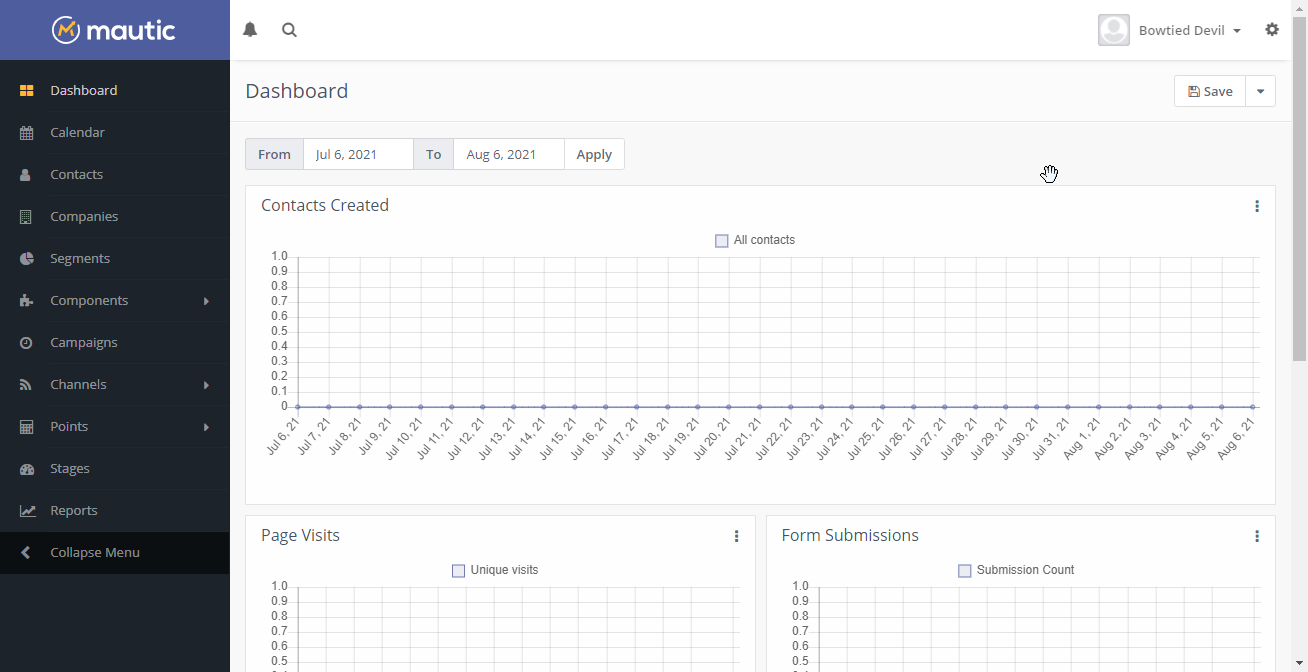
When you’ve completed the installer and log in, you’ll see a screen similar to this:
You’ll need to make one fix before proceeding. Since we are using an SSL-terminating reverse proxy in front of Mautic, we need to override the URL inside Mautic’s built-in configuration. Mine was set to http://newsletter.bowtieddevil.com when I logged in. I needed to change http to https, which ensures that all links generated by Mautic point to the appropriate SSL-secured entry point.
Adding Segments
Mautic refers to groups of people as Segments. The feature used to be called “Lead Lists” which was a bit more intuitive initially, but now it’s been generalized.
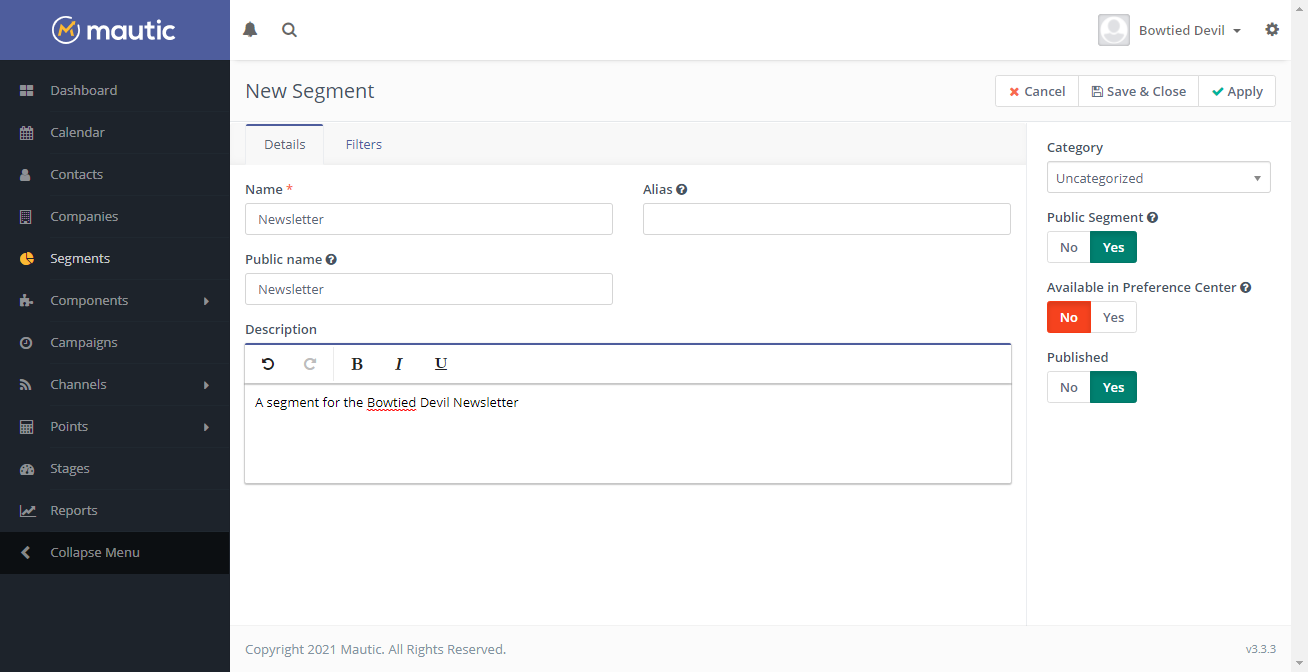
I will create a new Segment called “Newsletter” using the Segments link on the left menu.
Mine looks like this:
Adding Contacts
It’s very easy to add a contact manually. Click the Contacts link on the left menu and choose New (or Quick Add if you just have a name and email).
Manually adding contacts is a good way to test for functionality, but this is supposed to be automated. The power of MA software becomes apparent when you integrate Forms into your webpage.
Creating a Form
A Form is an HTML snippet that you embed into your website. The Form is made up of fields that you intend for the user to fill, and the data is submitted and stored inside Mautic for use later. This approach avoids the need to use special plugins or webhooks to export that data from another application. It’s more portable, too, since you can reuse the Form anywhere.
To create a Form, use the Components > Forms tool on the left menu. Click + on the top right and choose the Form type. You’ll be given two choices:
- New Campaign From
- New Standalone Form
The Standalone Form is the right choice for an embedded sign-up, since it allows for additional triggers on form submission such as sending an email, modifying a user’s segment, redirecting them to a special page or providing a download link.
I have created a Form called “Newsletter Signup” that accepts a single Field called “Email Address”, and when submitted it will perform a single action to “Modify contact’s segment” by placing that new email address in the “Newsletter” segment that I created earlier.
Then I save the Form and copy the HTML from the bottom of the page. I choose “Automatic” because it allows me to control the Form’s appearance and behavior within Mautic, and the HTML will be kept up-to-date wherever it is used elsewhere. The “Manual” option allows more spot-customization, but requires you to update the forms manually wherever they are used.
Adding the Form To Your Website
With the HTML copied, simply include the code block anywhere you want your newsletter signup to appear. The simple but repetitive option is to paste the HTML into all of your posts and the front page. Or if you have some HTML chops, insert it directly into the post/page template so it appears by default.
I will use the template route, and I will edit the single post template within my webpage tool (Hugo).
After doing so, the form appears at the bottom of my posts like this:

Now that the signup form is created and placed on the page, it’s time to test it. Fill in a sample email address, submit, and then check if the contact was added inside Mautic by choosing the Contacts link on the left menu.
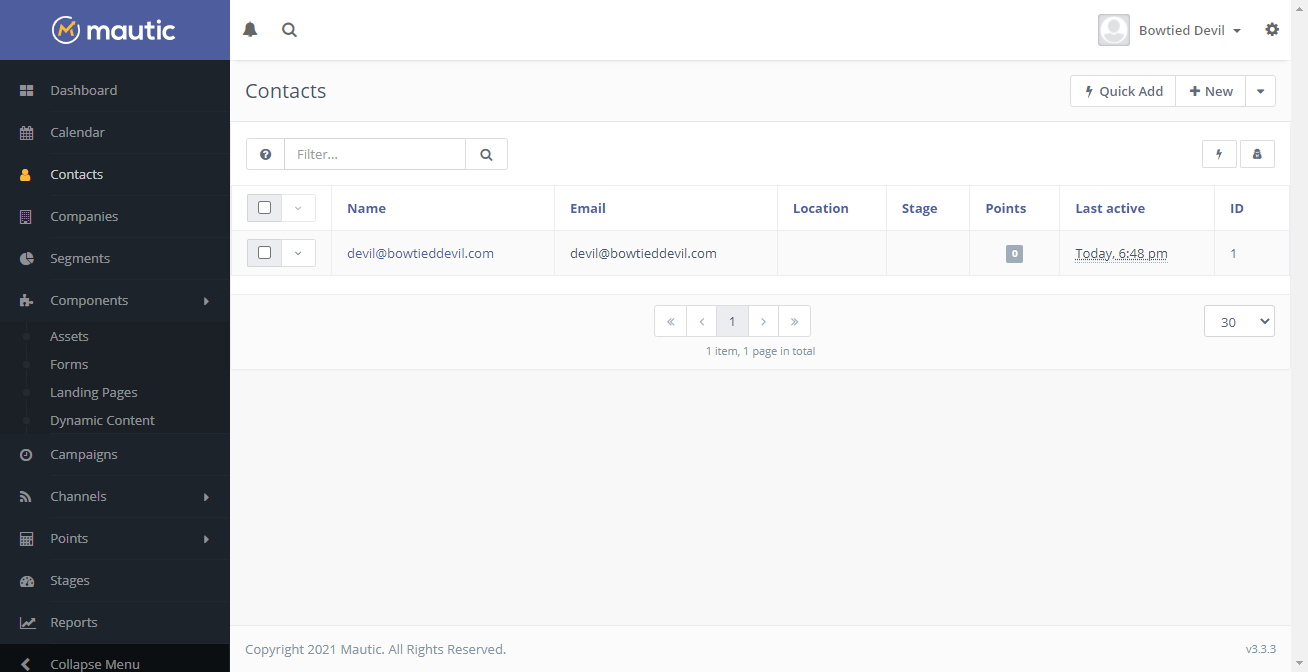
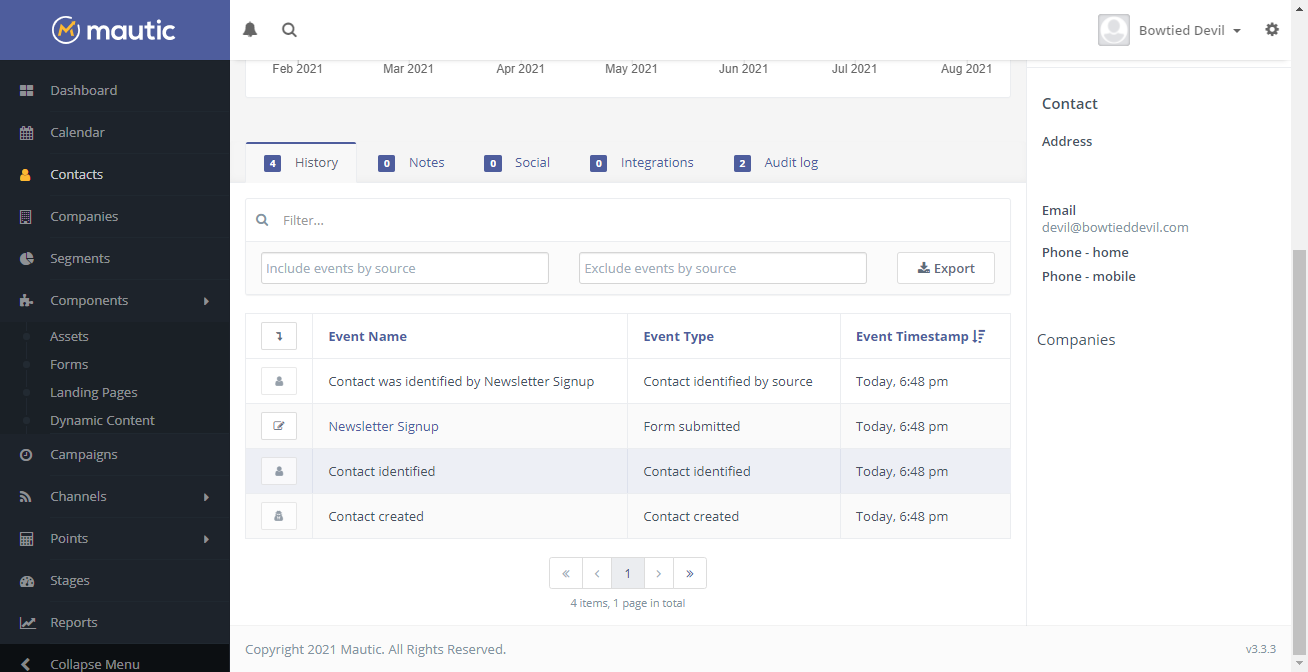
My signup was successful, and I can confirm that the user is present inside the Mautic Contacts list, and further that the Contact is part of the “Newsletter” Segment.
Sending a Newsletter
The hard part is done, last step is to write a newsletter and send it to our special Segment.
Go to Channels > Emails and create a “New Segment Email”. It can be pre-formatted with a template, custom-formatted with your own HTML, or just a plain email message. Choose the template from the first tab, and fill the body of the email on the second tab.
Once you’ve written it, choose the appropriate Segment on the right side (I’ve chosen “Newsletter”), and then send the email.
Final Thoughts
Now you have the ability to manage and maintain your own subscriber list, send them newsletters and emails, and be in full control. No risk of censorship here!