In Project: Virtual Private Server, we leveraged our existing Linux skillset to build a VPS, install a WordPress stack on it, point our DNS appropriately, and establish an SSL certificate to secure traffic to and from our new website.
Awesome!
There’s one more thing you’ll need for any modern website — email. If you’re planning to interact with your users, you need a way to get messages to and from them.
Email is ubiquitous. We take it for granted, and for the most part it works without any issue. But how does it work? What happens when I click send? How does it reach you, and who delivers it along the way? And what the hell is an email address anyway?
This is part 1 of a 2 part series. This part will cover email delivery, which is obviously useful if you intent to run any sort of service that notifies users of new content via email.
A Brief Overview of Email Technology
First, let’s discuss the protocols involved with email. Email sending operates using a communication protocol called SMTP (Simple Mail Transfer Protocol). SMTP regulates how an email message is routed and transferred between Internet servers.
SMTP is an old protocol, originally developed in 1981. It has been extended and improved throughout its life, but the basics are still in place. It was designed to use port 25 in plaintext, which is an obvious security concern. It’s most common to interact with SMTP over an encrypted (SSL) connection on port 587.
Once an email has been delivered using SMTP, the protocol is satisfied and terminates the connection. After delivery, the email will be processed by the destination system and made available for reading by the intended user.
There are two major protocols for email reading and storage: IMAP (Internet Message Access Protocol) and POP (Post Office Protocol). They accomplish the same function, but there are some major differences:
- POP is intended for client-side storage of messages. A client using POP will download a copy of the email message, and then it will be removed from the server.
- IMAP is intended for server-side storage of messages. A client using IMAP will read the messages and cache them locally, but they will be stored forever on the server unless deleted.
Email: 3rd Party vs. Self-Hosted
Email spammers have made this quite difficult for us. Because of the ease of sending email messages, spam is a huge problem. Consequently, many email systems have resorted to blacklists or deny-first firewall policies. In addition, many Internet Service Providers (ISP) will block access to common email ports (25, 465, 587).
This has lead to the rise of transactional email delivery services such as Mailgun & Sendgrid. These 3rd party email services will accept email on your behalf and deliver it using a protected network of relay servers. Since email delivery is their job, they actively monitor blacklists and respond quickly to spam complaints. Using these services is not a guarantee of delivery, but your chances are much better than trying to do it yourself.
Personally I prefer Mailgun, so I will describe how to get running on their platform here.
Linode Prerequisite
To reduce spam, Linode blocks ports 25, 465, and 587 by default. They have a short blog post on the policy HERE, which you should read. In short, you need to do the following:
- Configure all appropriate
Arecords - Configure a Reverse DNS entry for your Linode VPS
- Open a Support Ticket requesting the ports to be unblocked
Getting Started with Mailgun
Head to Mailgun and sign up. You will need to provide a credit card since the service is designed around charging for bulk delivery of email. However, the basic plan (called Flex) allows for 1250 emails per month free of charge, then $1 for each additional 1,250 after that ($0.0008 per email).
My email volume is low (for now), so I have been using their service for years without being billed.
It’s quite hard to generate 1,250 emails unless you’re trying, so this is a nice solution for hobbyist websites.
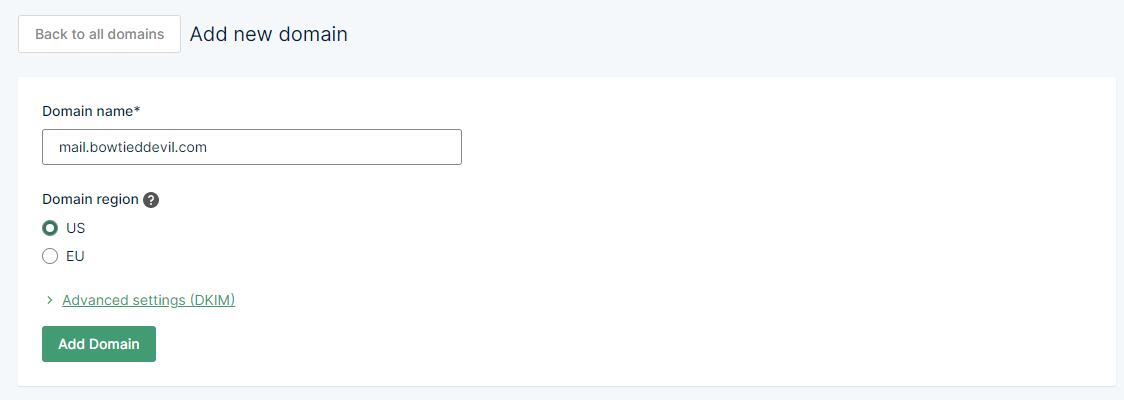
Once you’ve signed up and provided payment information, navigate to the Sending > Domains panel and choose “Add New Domain”.
I have not configured email for bowtieddevil.com, so I will do it here to walk you through the process.
Mailgun recommends configuring email delivery with a sub-domain. I will use mail.bowtieddevil.com.
You’ll be presented with a series of DNS entries that need to be configured. I am using Linode DNS, and you are too if you followed my previous guide. Add these entries to the Domains control panel on Linode.
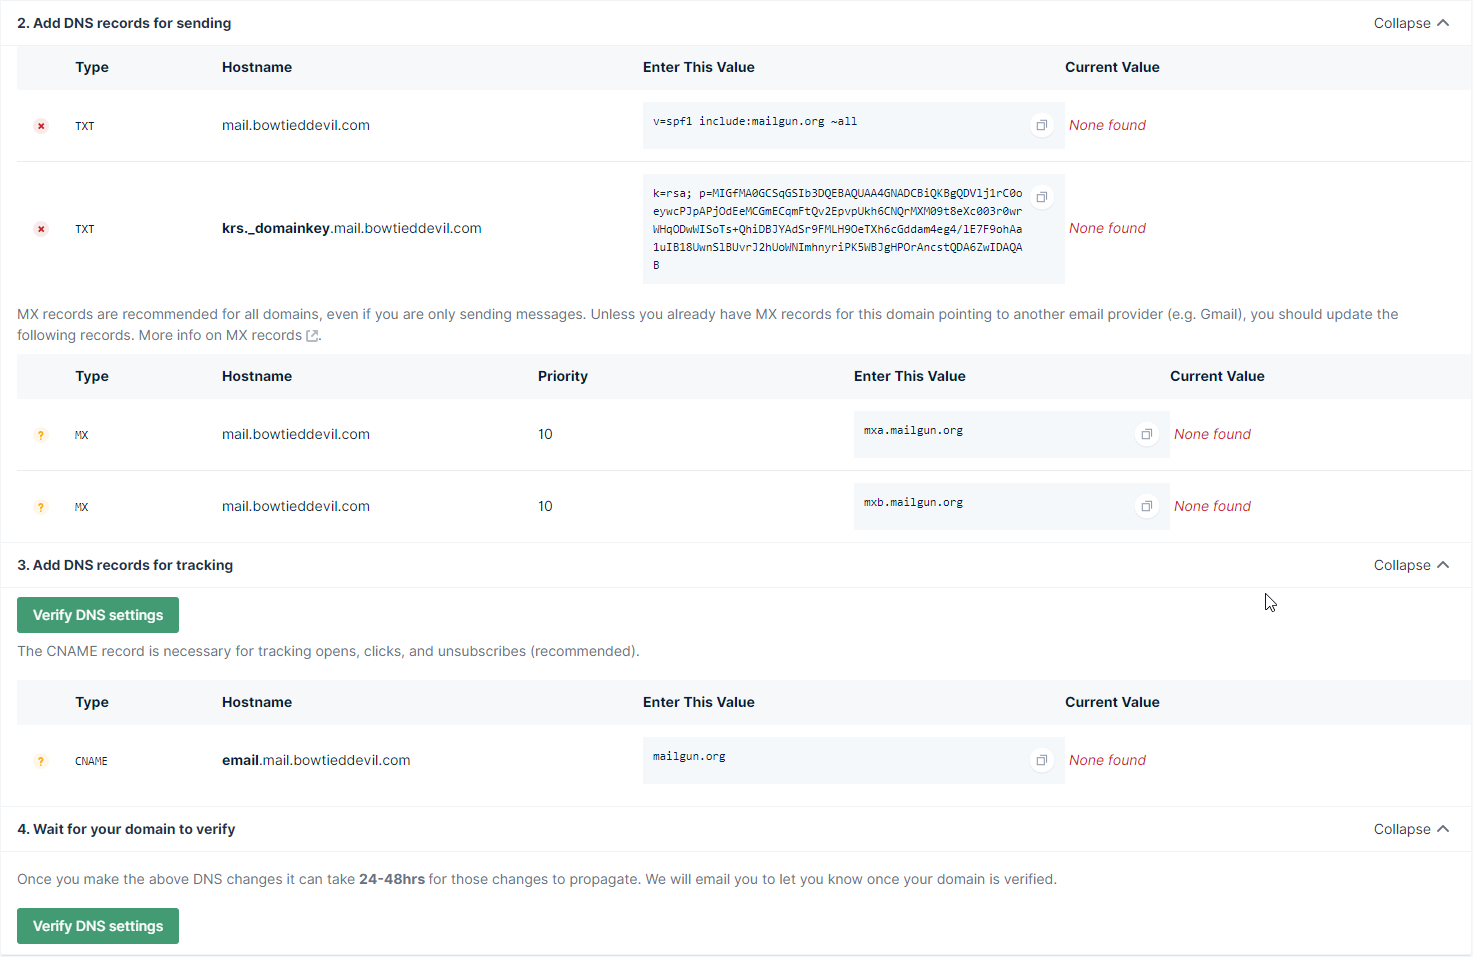
A few notes on this page. If you copy/paste as shown on Mailgun, you will get an error adding the TXT records because the hostname is over-specified. Enter the first record as mail and the second as krs._domainkey.mail, omitting the trailing bowtieddevil.com.
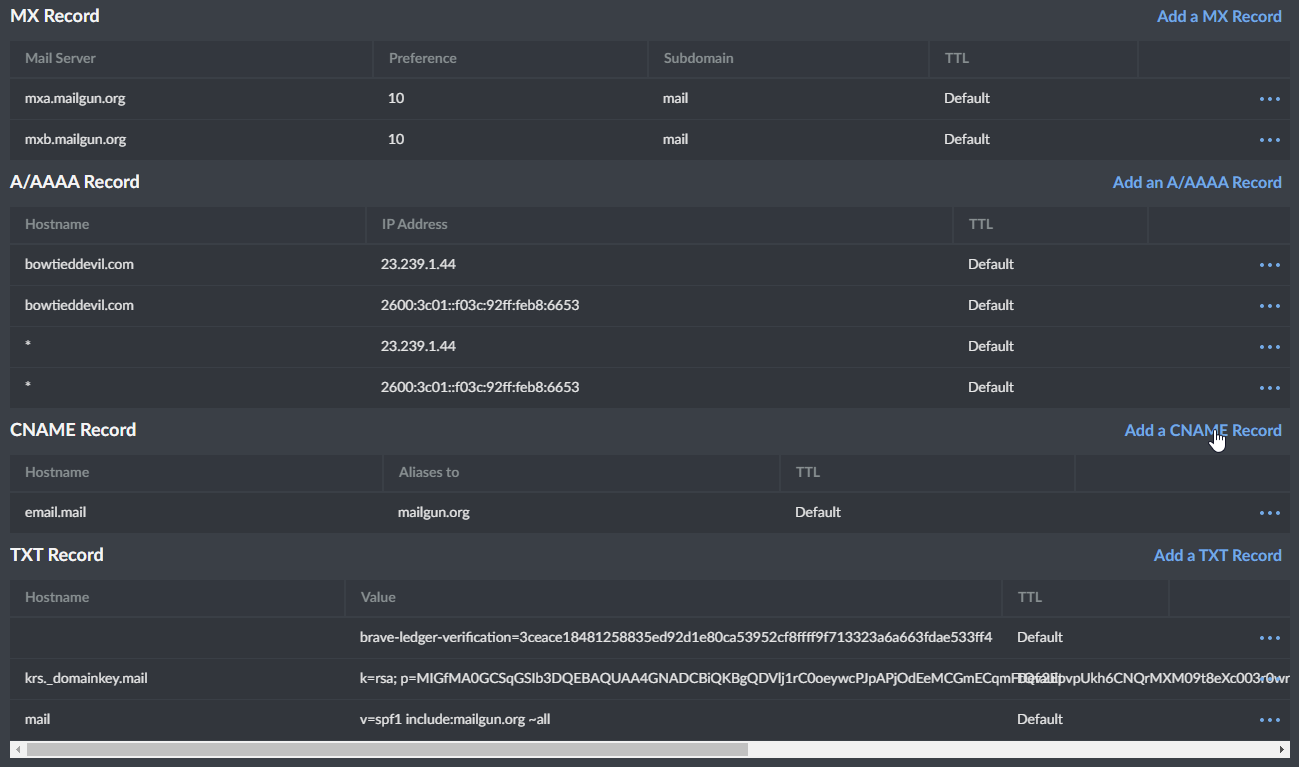
Your Linode DNS will look like this when you’re done:
Once that’s complete, go back to Mailgun and click “Verify DNS settings”. You should see green check marks next to all of the settings. If not, correct the entry and retry. After Mailgun verifies your settings, your sending domain will be active and you can proceed.
From the left menu, choose Sending > Domain Settings. Then in the menu, choose your new sending domain (mail.bowtieddevil.com in my case) and click the “SMTP Credentials” link.
By default, the SMTP user is displayed but the password is not. Click “Reset Password” to see the newly-generated password, and save it somewhere. It will not be displayed again.
Congratulations, now you have an SMTP login that you can use to send mail. These credentials can be used to generate notifications for you and your users.
Wrapping Up & Next Steps
In the next post, I will cover the various methods for receiving and storing email. It’s complicated enough just learning how to take custody of sending it, so this will be a two-part guide. See you soon!
In the future, we will use this new email delivery capability to generate and send newsletters to a subscriber list that you control.
Isn’t decentralization fun?